AI3D Studio Guides: Step-by-Step Help for Every Tool
Step-by-step guides for AI3D Studio: a first model from a picture, the Library, retexturing, rigging, video, voice, pipelines, printing, teams and the API.
AI3D Studio turns a picture, a text prompt, several views or a sketch into a 3D model, then lets you repaint, rebuild, rig and prepare that model for printing. These guides follow the tools the site ships today, one task at a time. Each step names the button or field you will see and links to the page that does the work; the tool pages hold the detail for each model.
Guides
Start here
The guides run in the order a first-time reader needs them, and each one ends with a link to the next.
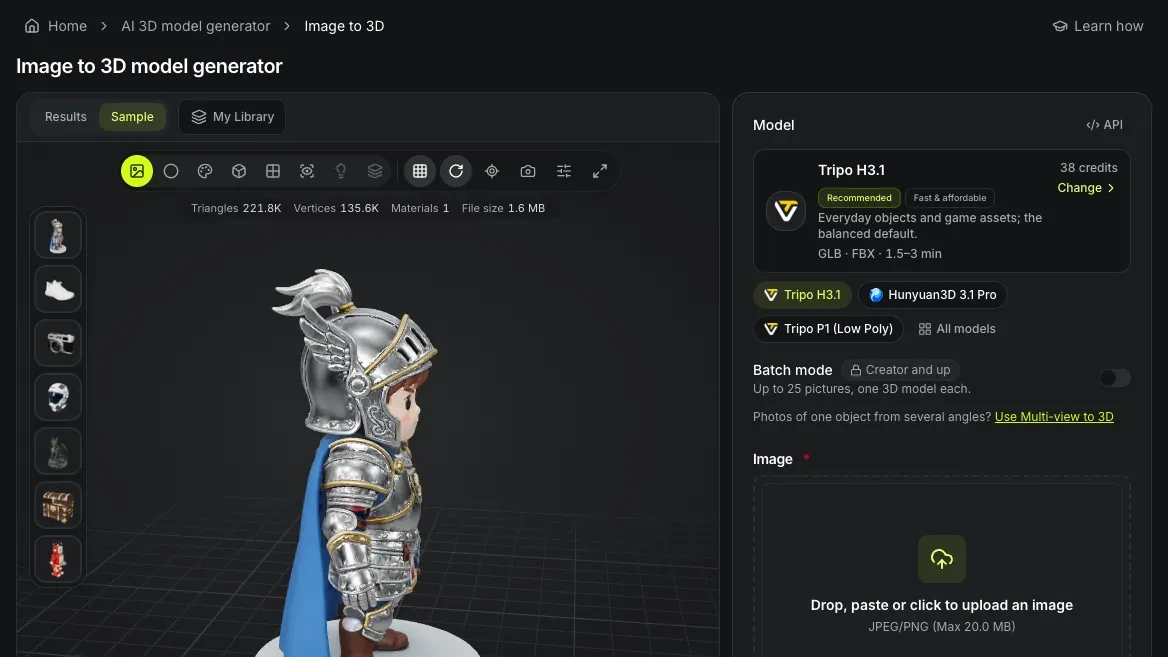
Guide 1 of 10, Getting started
How to make a 3D model from a picturePrepare a picture, pick a model, read the cost, generate, then download the file or take the result into the next tool, step by step on the Image to 3D page.
All guides — 10 guides
- Video, 47 seconds
Guide 1 of 10, Getting started, Beginner
How to make a 3D model from a picture
Prepare a picture, pick a model, read the cost, generate, then download the file or take the result into the next tool, step by step on the Image to 3D page.
- Image to 3D
- Text to 3D
- Multi-view to 3D
- +6
8 min readOpen the guide - Video, 17 seconds
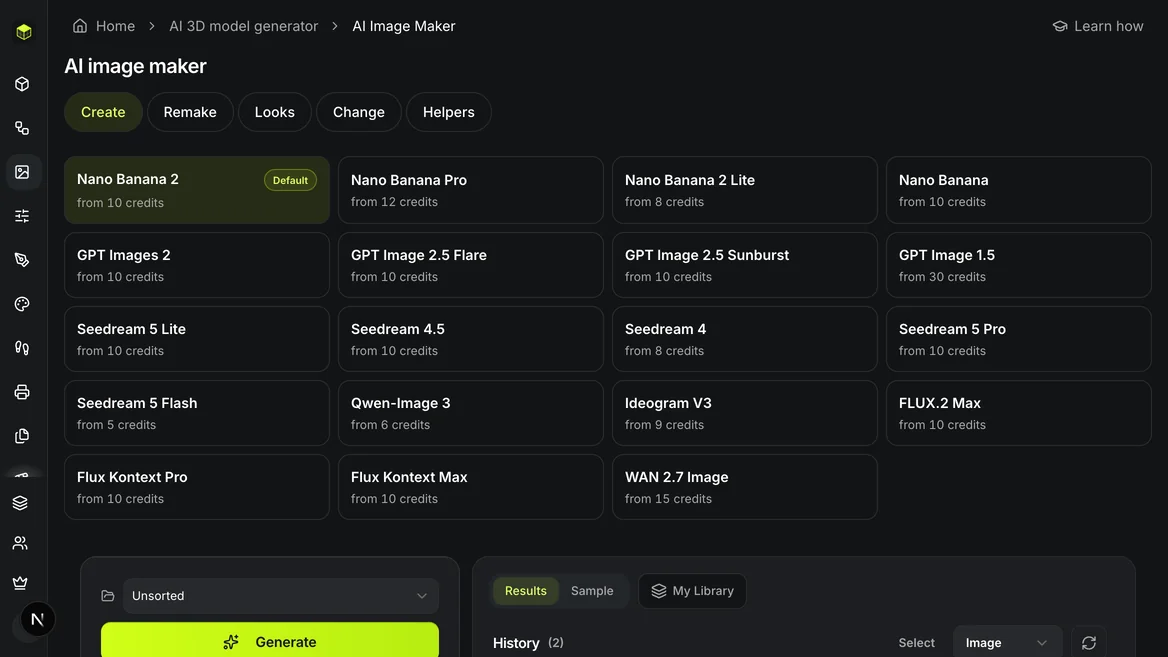
Guide 2 of 10, Getting started, Beginner
Make and prepare pictures in Image Maker
Generate or edit a picture, change it with the Remake tools, turn a character into a four-view sheet and send the result to 3D, step by step in Image Maker.
- AI Image Maker
- AI Image for 3D
- Character Sheet Generator
- +11
8 min readOpen the guide - Video, 32 seconds
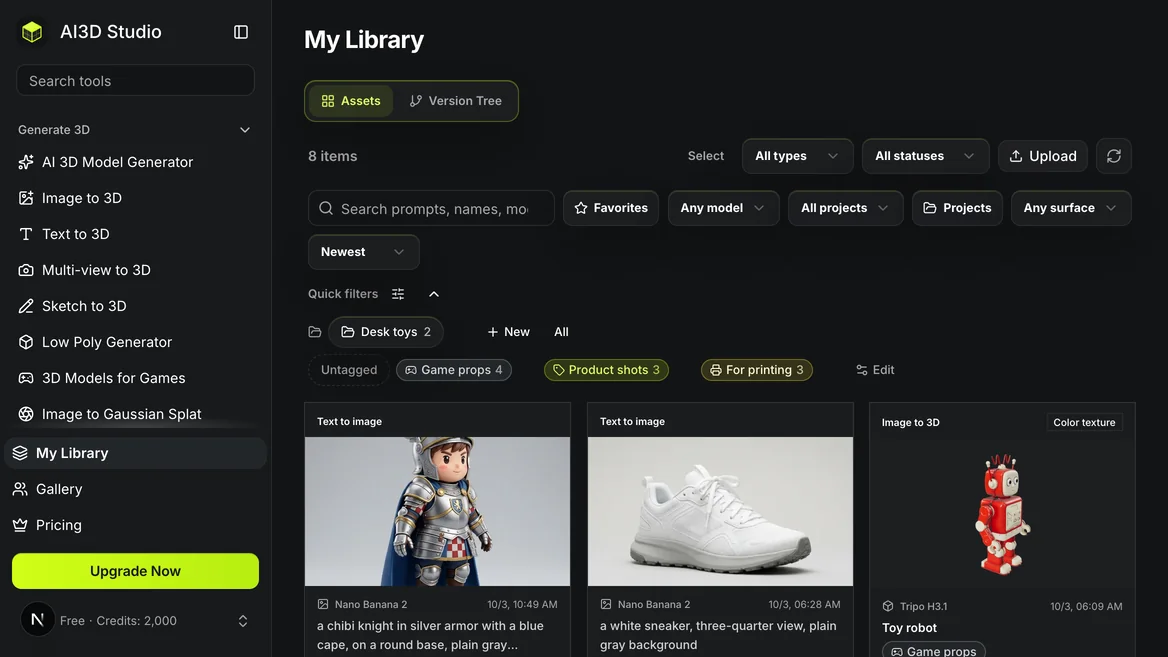
Guide 3 of 10, Make and refine, Beginner
Organize your 3D models and pictures in the Library
Find, tag and file your work in My Library, keep busy projects and tags in Quick filters, and reuse a finished result as the input of the next run.
- My Library
6 min readOpen the guide - Video, 39 seconds
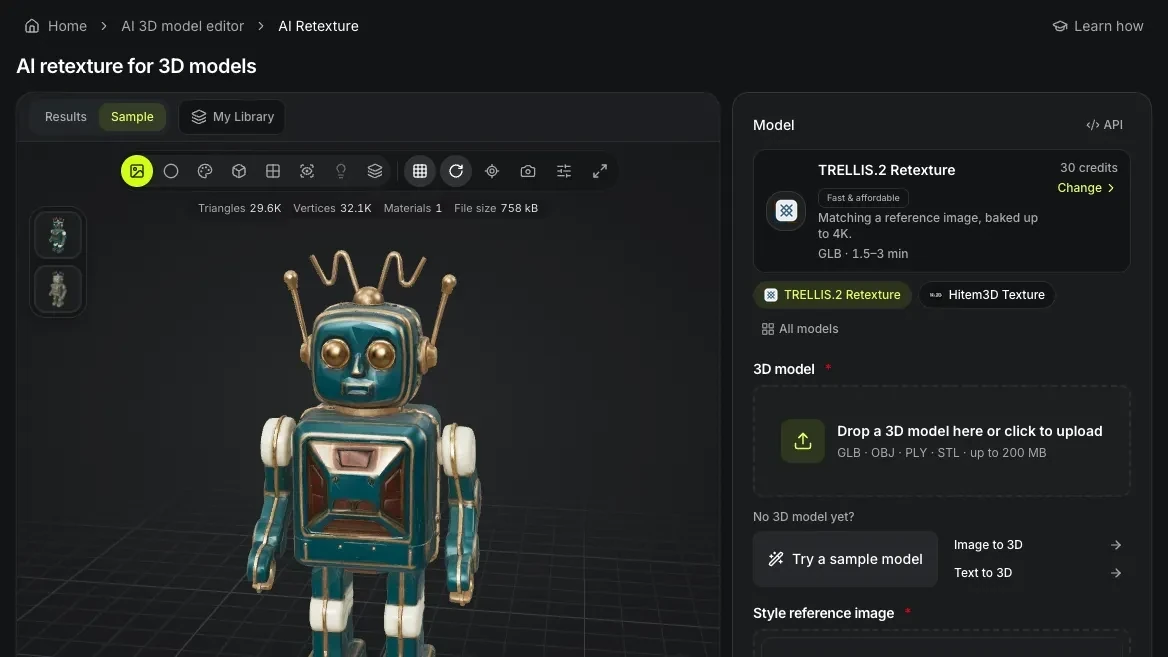
Guide 4 of 10, Make and refine, Intermediate
How to retexture and remesh a 3D model
Change a model's surface with retexture and its polygons with remesh: pick an engine, set the look or the face target, and compare with the original.
- AI Retexture
- 3D Remesh
- AI 3D Model Editor
- +5
7 min readOpen the guide - Video, 40 seconds
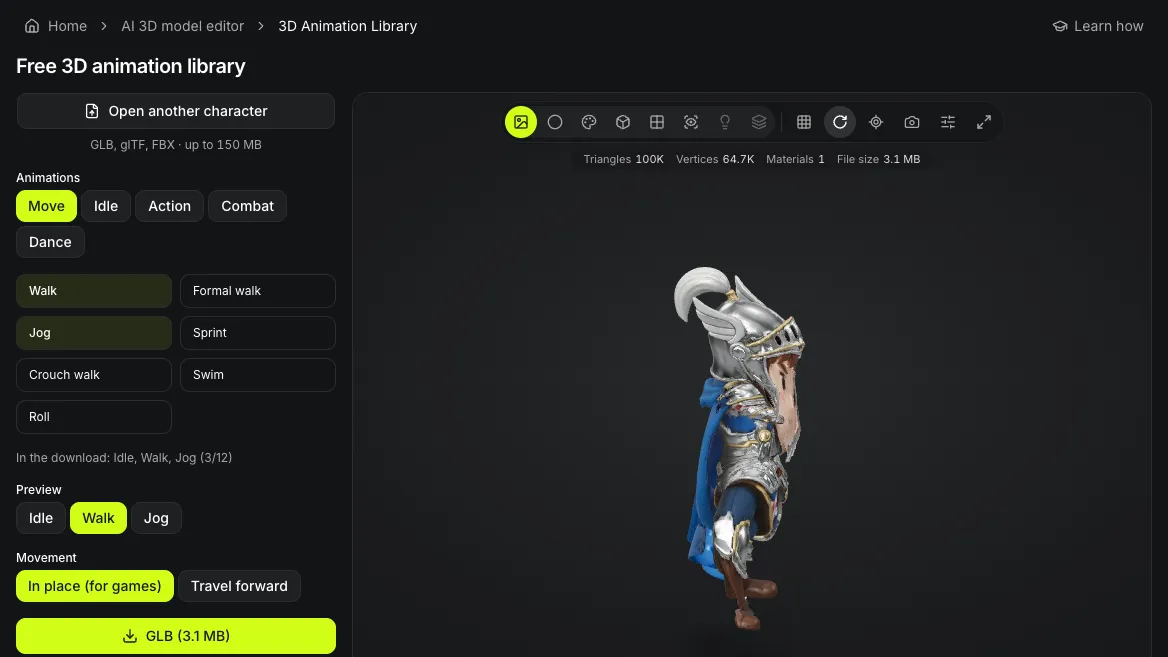
Guide 5 of 10, Make and refine, Intermediate
How to rig and animate a 3D character
Give a character a skeleton with Auto-Rig, then put ready-made walk, run and dance clips on it with the free Animation Library, step by step.
- Auto-Rig
- Text to Motion
- Animation Library
6 min readOpen the guide - Video, 37 seconds
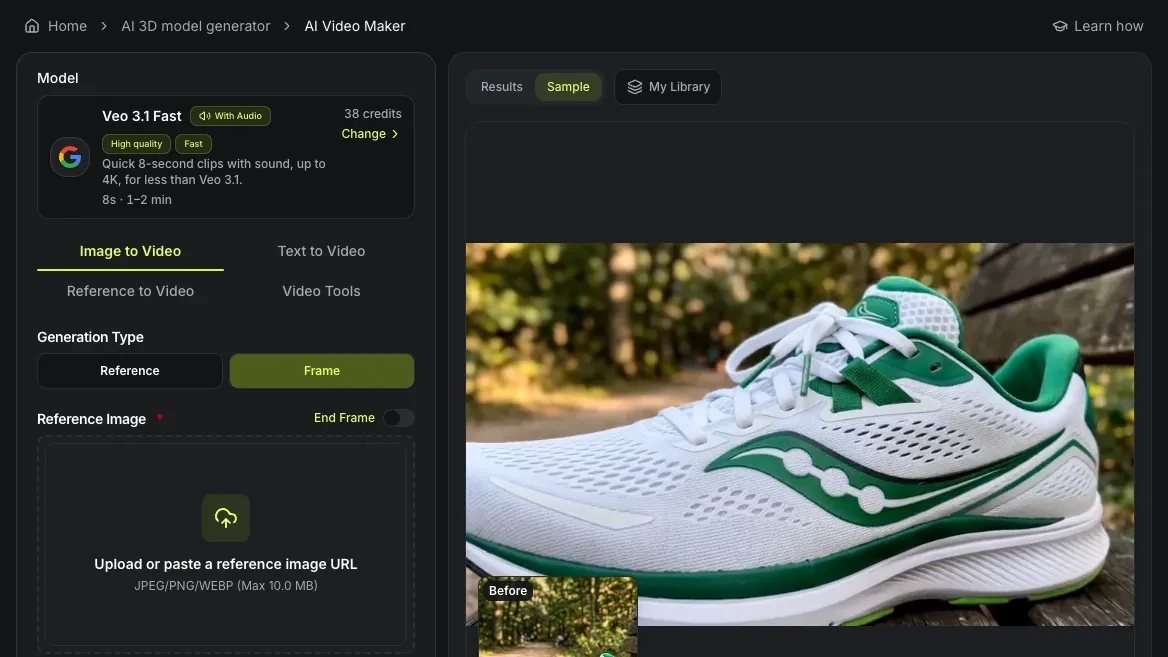
Guide 6 of 10, Video and voice, Beginner
Make AI videos and voice-overs
Turn a picture, a render of your model or a prompt into a short video, rework a clip you have, and add a spoken line with the AI voice generator.
- AI Video Maker
- 3D Model to Video
- AI Voice Generator
- +1
6 min readOpen the guide - Video, 23 seconds
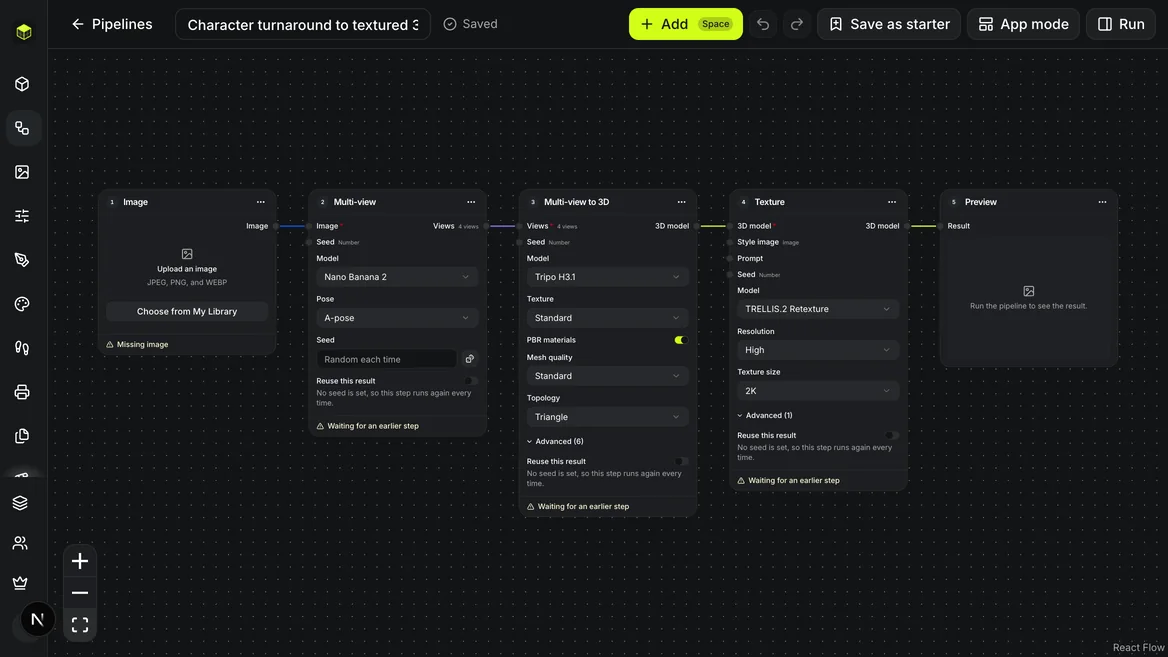
Guide 7 of 10, Make and refine, Intermediate
How to build an AI 3D pipeline
Link image and 3D steps into a pipeline, run them from one panel, run it as an app or once per row of a file, and share it as a starter, step by step.
- Pipelines
7 min readOpen the guide - Video, 41 seconds
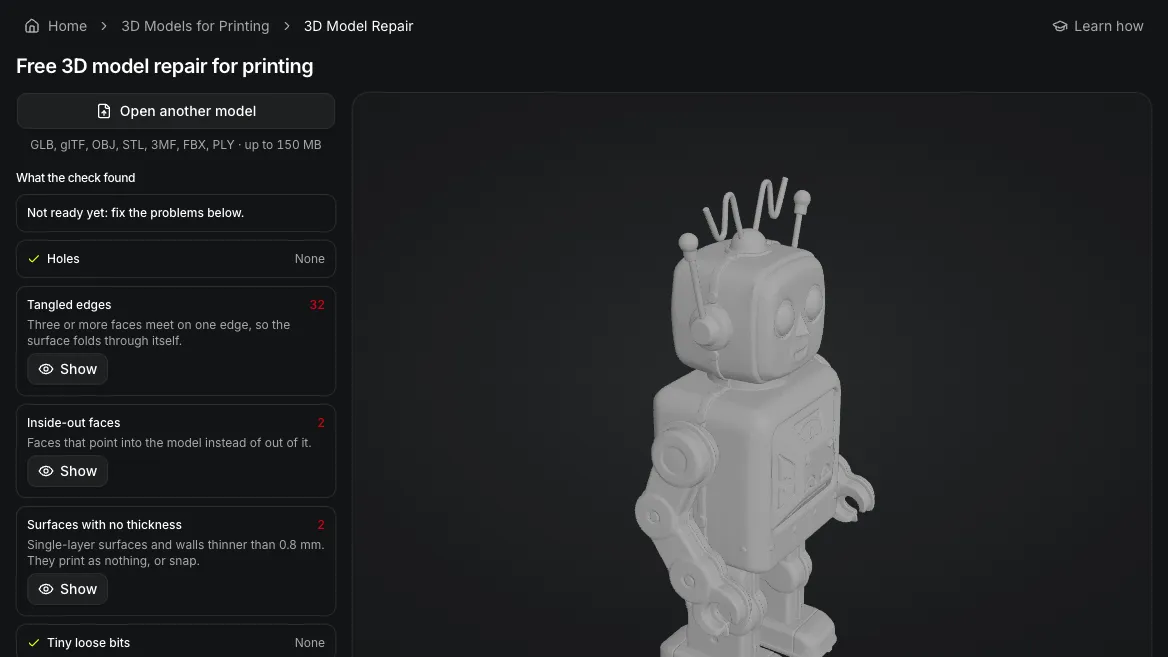
Guide 8 of 10, 3D printing, Intermediate
Prepare a 3D model for printing
Take a photo or a finished model to a file your slicer can print: make the figure, repair it, size it, split it and color it with the print tools.
- Print-Ready Models
- 3D Figurine Maker
- Split for Printing
- +10
7 min readOpen the guide - Video, 33 seconds
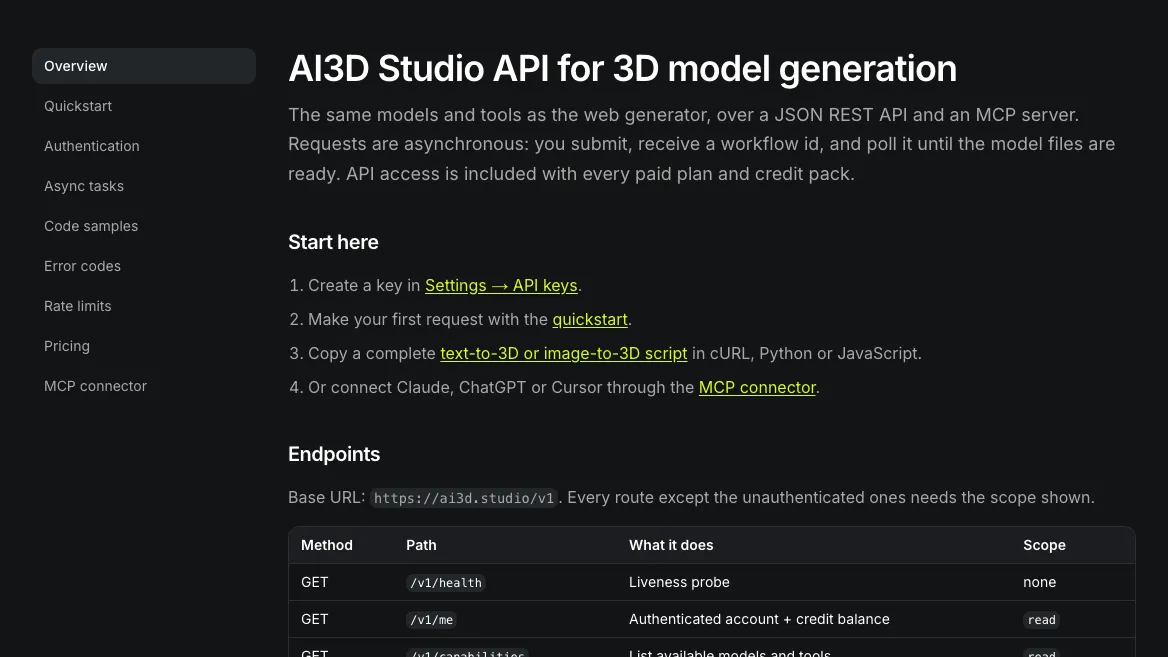
Guide 9 of 10, Teams and API, Advanced
Share credits with a team and use the API
Buy a Team plan, invite people by email or join code, switch workspaces, and create API keys with scopes, expiry, an IP allow-list and a credit limit.
5 min readOpen the guide 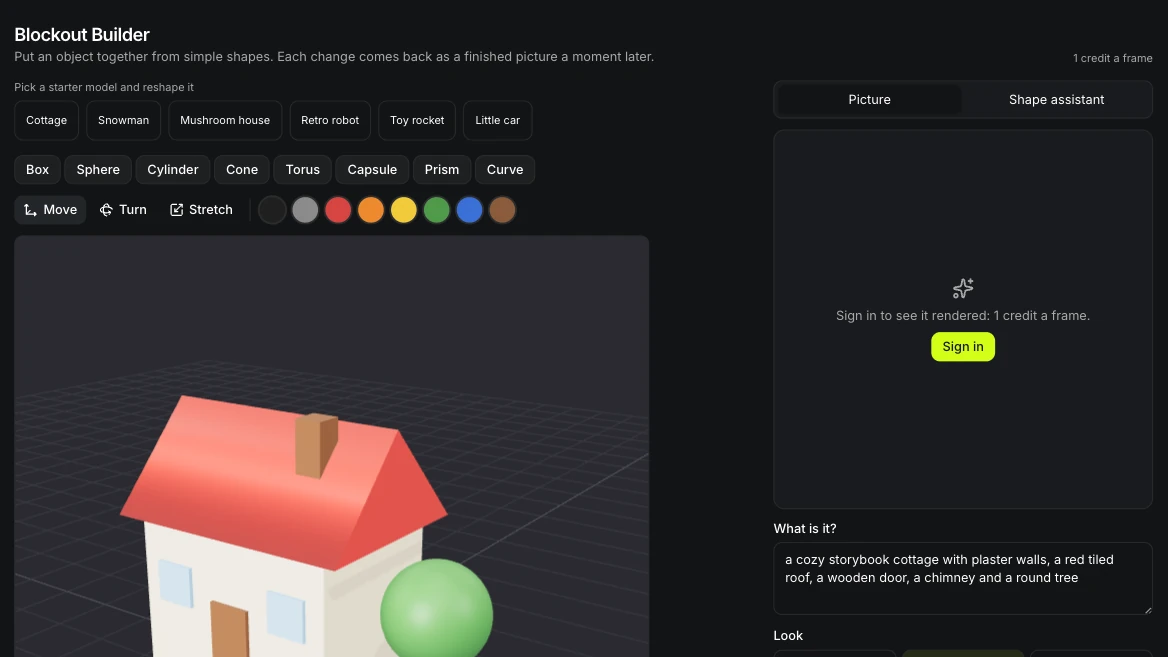
Guide 10 of 10, Getting started, Beginner
Draw or block it out, and see it rendered live
Draw in Draw & Preview or block out shapes in Blockout Builder, let AI render it as you work, and turn the best render into a 3D model, step by step.
- Draw & Preview
- Blockout Builder
8 min readOpen the guide
How credits work
- One credit balance pays for every model and tool. A plan adds credits every month and runs every model, the Pro models included; a credit pack adds credits that never expire and runs the core models. Pricing lists both.
- The cost line beside the Generate button shows what a run costs before you submit, and it changes as you change the model or an option.
- Credits are reserved when a run starts. If a run fails and returns no model, the credits go back to your balance. A run cannot be cancelled; one that stalls fails on its own and its credits come back the same way.
- Tools marked Free in the sidebar run in your browser, on your device, and cost no credits. A few also offer an optional AI step, such as the size estimate in Resize 3D Model or AI refine in the Texture Painter; that step shows its price before you run it.
- Finished runs are saved in My Library, so you can leave a page while a model builds and find the result there.
Reference pages
These pages hold the model-by-model and format-by-format detail the guides link to.
- Compare AI 3D models: credits, formats and run time for each generation model.
- Prepare an image for 3D: what a picture needs before you upload it.
- 3D file formats: what GLB, FBX, OBJ, STL, USDZ and PLY each keep, and the free in-browser conversions.
- How to 3D print an AI model: inspect, size, split, color and slice, with the tool for each step.
- AI models: the model names and plan availability the studio currently shows.
- Developer documentation: the REST API and the MCP connector.
- What's new: new generators, tools and fixes, newest first.
- Support: account, billing, credits and generation help, and how to contact the team.