
PNG, JPEG, WebP · up to 25 MB · or drop it here
Portraits and photos with soft, even light work best.
Detail
Choose a photo to turn it into a lithophane you can print and light from behind.
Free lithophane maker
Turn a photo into a lithophane: a thin panel that shows the picture when light shines through it. The lithophane maker runs in your browser, so the photo is never uploaded and no credits are used.
Two photos through the lithophane maker
Each poster is the lithophane maker's Backlit preview; open a card to orbit the STL it downloaded, converted to GLB. In ordinary light the panel is a plain white relief, which is why the picture only shows with a lamp behind it. Both were made 100 mm wide with 3 mm of extra thickness for dark areas on a 1.2 mm thinnest point, at 200 px detail: a 4.2 mm panel. The maker starts at 2.2 mm on 0.8 mm, a 3 mm panel whose light areas let more light through.
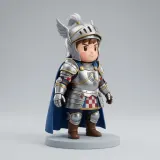
Knight photo
Lithophane makerTry with a sample photo. Soft studio light gives a full range of grays, so the armor, cape and base all separate when backlit. 100 × 100 × 4.2 mm, 21.8 cm³, 159,996 triangles; at the maker's starting settings the same photo is 100 × 100 × 3 mm and 15.2 cm³.
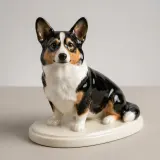
Corgi figurine image
Lithophane makerThe pet-figurine image from the figurine maker. The black coat prints at the full 4.2 mm and stays dark; the white chest and the oval base print thin and glow. 100 × 100 × 4.2 mm.
How the lithophane tool works
A lithophane is a relief printed inverted: dark areas are thick and block light, light areas are thin and let it through.

Inverted by default
This page starts in lithophane mode, so darker parts of the photo print thicker and block more light. In ordinary light the result is a plain white panel with the picture only hinted at in its relief, like this knight.
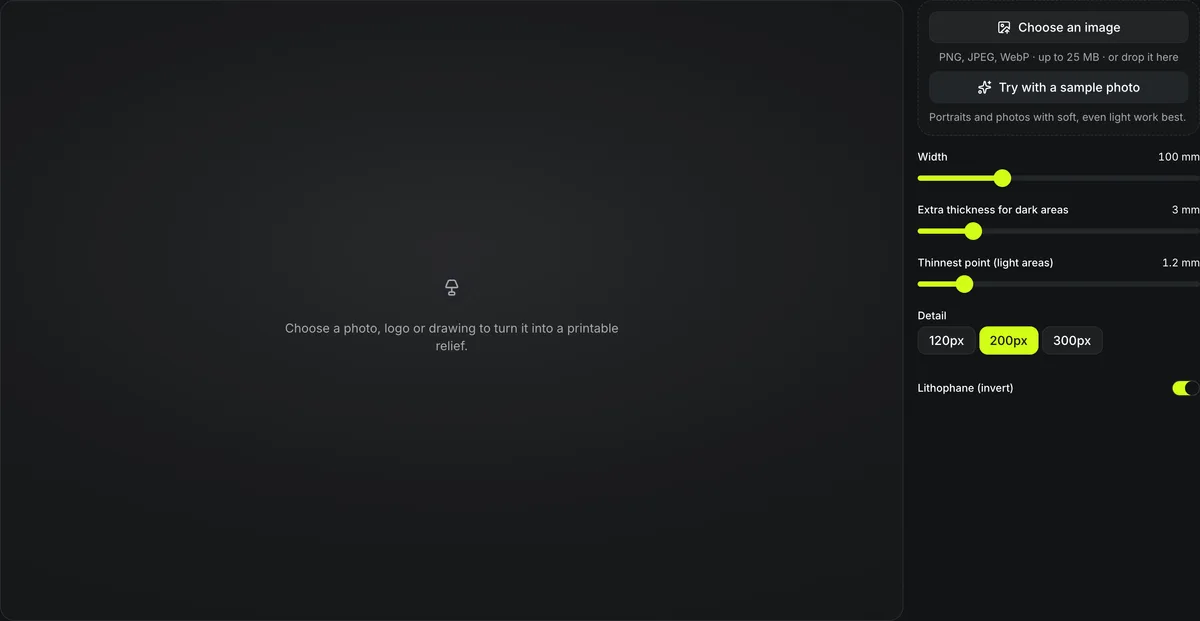
The controls match the relief tool: width 20 to 300 mm, 0.4 to 15 mm of extra thickness for dark areas, a thinnest point of 0.4 to 6 mm and 120, 200 or 300 px of detail.

See it backlit before you print
Backlit shades the preview as if a lamp were behind the panel, so the knight appears the way the print will show him against a window or a night light, before you spend any filament. The photo stays on your device; the STL is built in the browser.
Where lithophanes go
Photo panels that need a light behind them
Every one of these works the same way: white filament, a flat panel, and a light source on the far side.
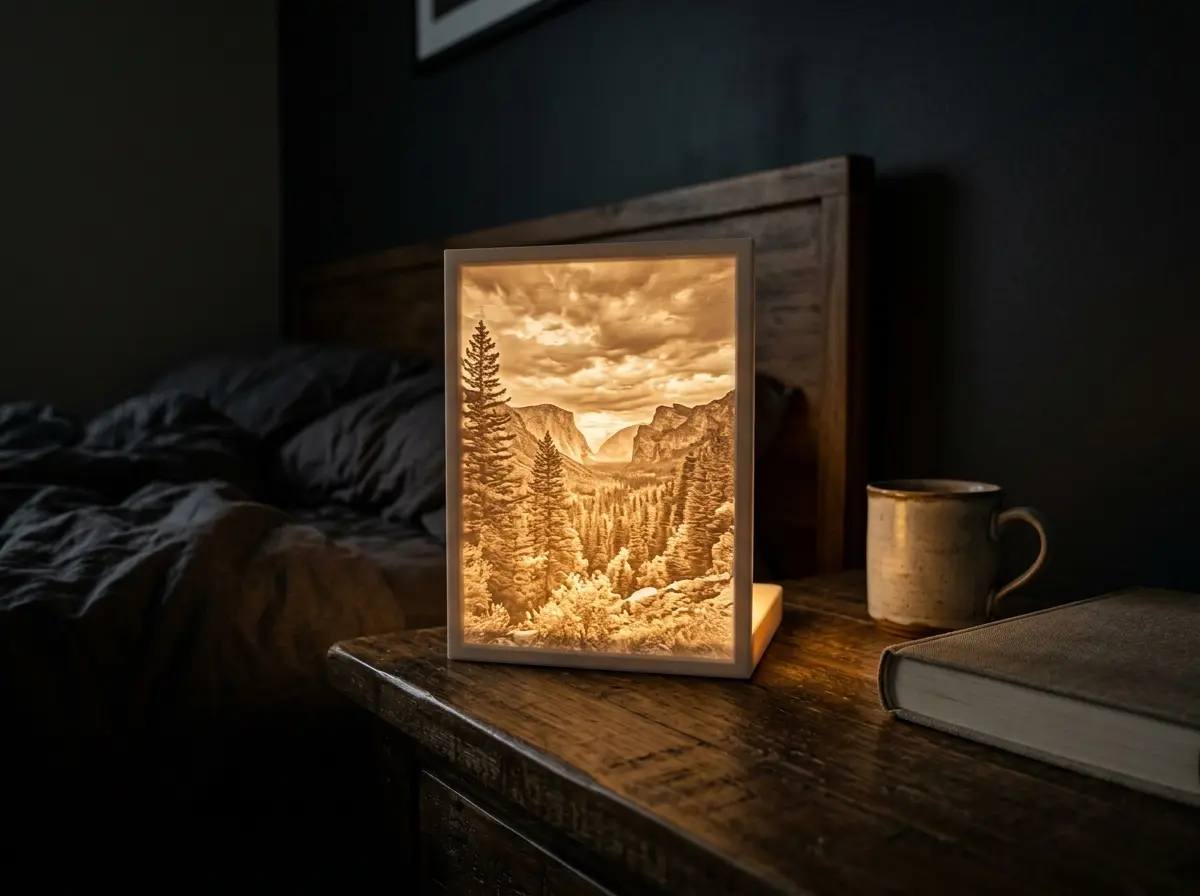
Night-light panels
A panel stood in front of a small LED lamp glows with the picture after dark.
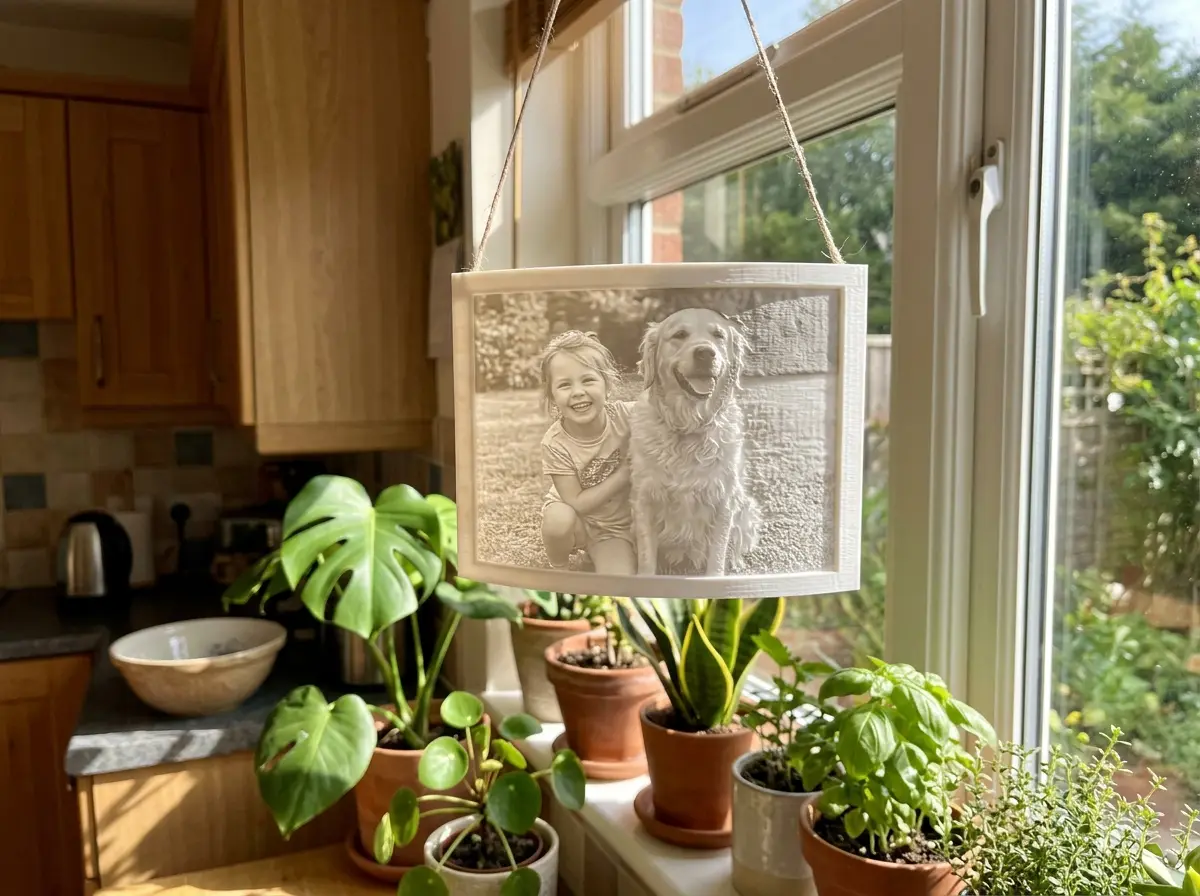
Window hangings
Daylight does the lighting; a string or a suction hook holds the panel against the glass.
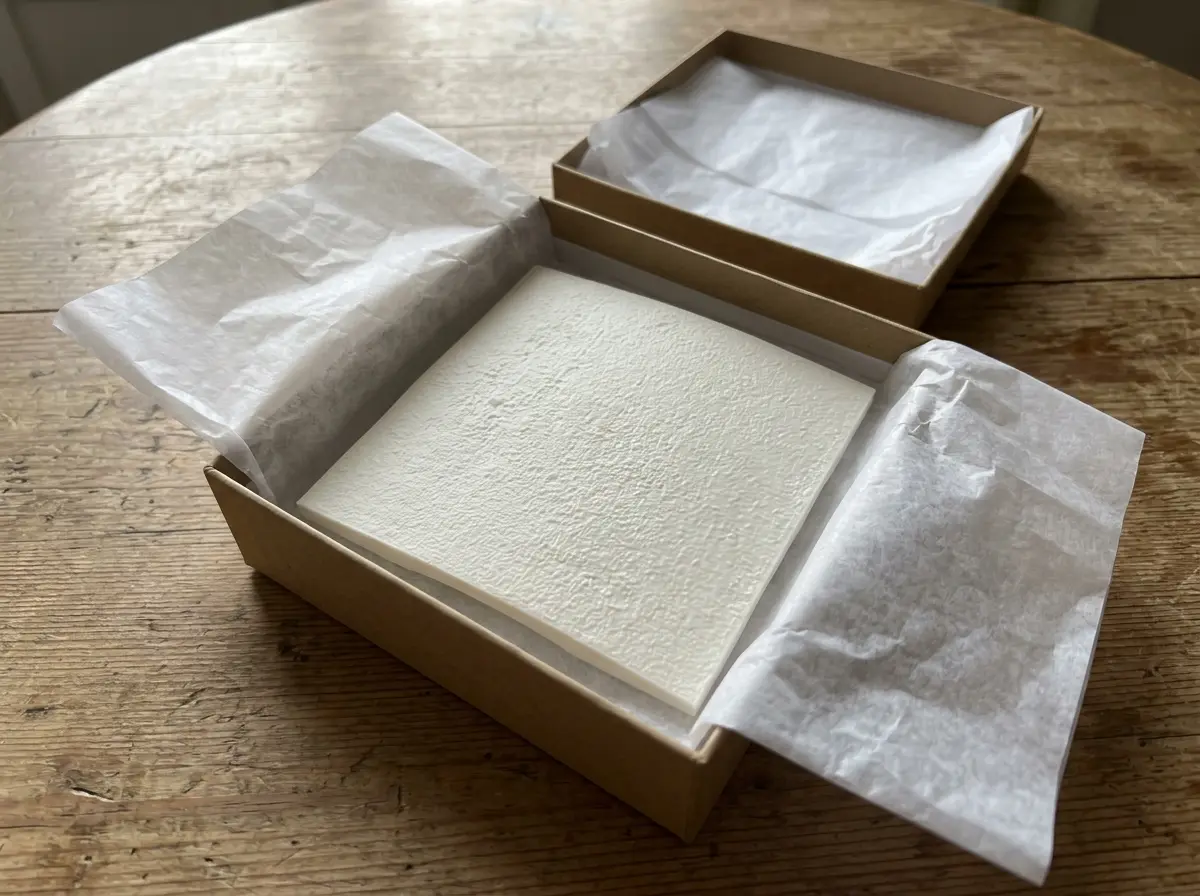
Photo gifts
A family photo that looks like a plain white tile until someone holds it to the light.
The lithophane maker in numbers
The photo becomes a lithophane STL in your browser, with no account and no credits.
Model width range.
Extra thickness for dark areas, on a thinnest point of 0.4 to 6 mm.
The download is a binary STL, ready for a slicer.
Watch the lithophane maker at work
A recording of this page at normal speed.

Sample photo, then a thicker panel
Try with a sample photo opens straight into the Backlit preview. Here the thinnest point is set to 1.2 mm, and raising Extra thickness for dark areas from 3 to 4.6 mm darkens the shadows: the size line changes from 4.2 mm to 5.8 mm thick and from 21.8 to 27.1 cm³.
Print a lithophane
Light-colored filament and a light behind the panel.
- 1
Portraits and landscapes with clear contrast work best, from your device or your Library.
- 2
Pick the width and a relief height; thicker panels block more light.
- 3
Print it upright or flat in white filament, or continue with it to repair it, add a base, cut it or convert it.
- 4
Hold it against a window or a lamp.
Conditions and limitations
Limits of the lithophane tool
The picture appears only with light behind it.
Flat panels only
The lithophane tool builds a flat panel, not a curved one.
Filament matters
Dark or glossy filament hides the image.
Detail costs size
The 300 px setting makes a larger STL.
Questions about the lithophane tool
Answers about photo lithophanes.
Make a lithophane now
Choose a photo and download a lithophane STL in your browser.