
How to retexture and remesh a 3D model
Change a model's surface with retexture and its polygons with remesh: pick an engine, set the look or the face target, and compare with the original.
Guide 4 of 10Make and refineIntermediate7 min read
Retexture keeps a model's shape and replaces its surface. Remesh keeps the shape and rebuilds the polygons. Both work on a model you already have, from a finished run or from a file you upload. A retexture is priced in credits shown before you start; 3D Remesh runs free in your browser, and the AI remesh engines in the AI 3D Model Editor are priced like a retexture. When a model needs both, remesh first: a new mesh can break the old UV layout, and a retexture afterwards repaints it cleanly.
Step 1: Load the model to work on
- From a result: on a finished model, the bar along the bottom of the canvas has Retexture and Remesh buttons, and the More menu lists the other next steps. They open the tool with that model already loaded.
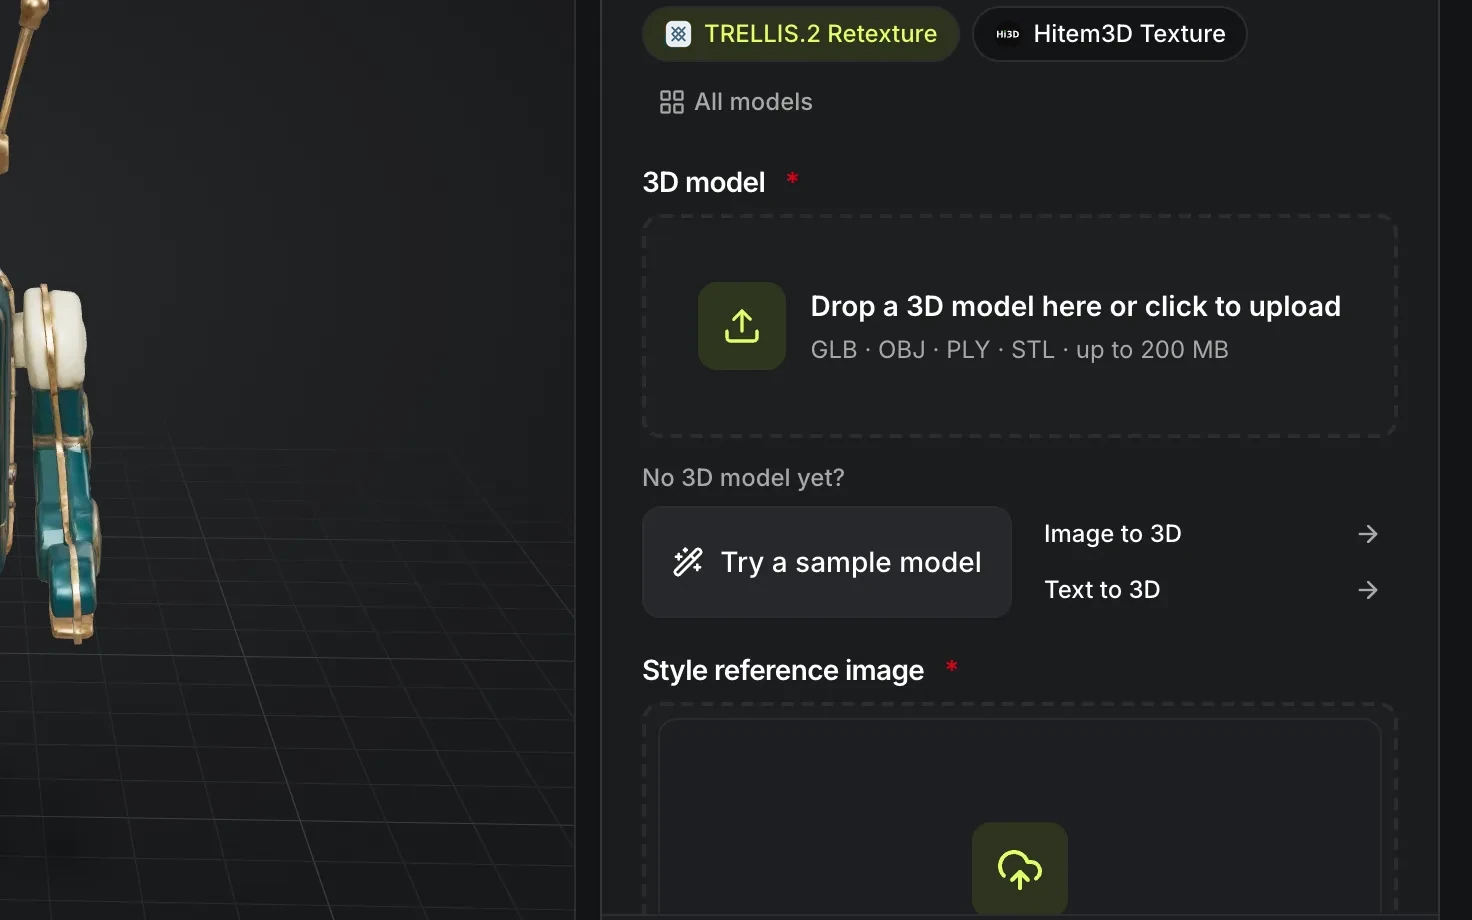
- On the tool page: the 3D model field offers From My Library, Upload a 3D model and Try a sample model. When a file is the wrong type, the field says which formats the selected engine accepts.
- No model yet? The field links to Image to 3D and Text to 3D under No 3D model yet?
Step 2: Retexture the model
- Open AI Retexture and load the model.
- Pick an engine from the model list. They differ in how you describe the new look and in the files they read.
| Engine | The look is set by | Accepts | Returns |
|---|---|---|---|
| TRELLIS.2 Retexture | A reference picture | GLB, OBJ, PLY, STL | GLB |
| Hitem3D Texture | A reference picture | GLB | GLB, STL, OBJ, FBX, USDZ |
| Meshy Retexture | A text description, a reference picture or 2 to 4 views | GLB, OBJ, FBX, STL | GLB, FBX, OBJ, STL, USDZ |
| Tripo Texture | A text description, a reference picture or 4 views | GLB, FBX, OBJ, STL | GLB |
- Describe the look. The form shows one way at a time: Words, A picture, and for Tripo Texture Side views. With text, write the finished surface, not an edit: "A weathered bronze shield with green patina and dented rim" works, "Make the shield look older" does not. With a picture, add it as the Style reference image. The form offers ready-made style prompts under Try an example. With Side views, give one picture of each side of the object, front and back plus both sides: Tripo Texture needs all four. Opened a model you made from a picture? Under A picture, The picture this model was made from offers that picture: Use the original picture puts it in the Style reference image slot for free, and Undo takes it back out. No picture to hand? Under A picture, Make a picture to paint from draws your model's front view in plain grey, sends it with your description to the image model, and shows the result. It costs one image run, shown on the button before you press it, and the picture is saved in My Library. Use this picture puts it in the Style reference image slot, and Undo takes it back out.
- Check the options the engine shows. Each one has a hint and, when it changes the price, its credit impact.
- Read the cost line and press Generate.
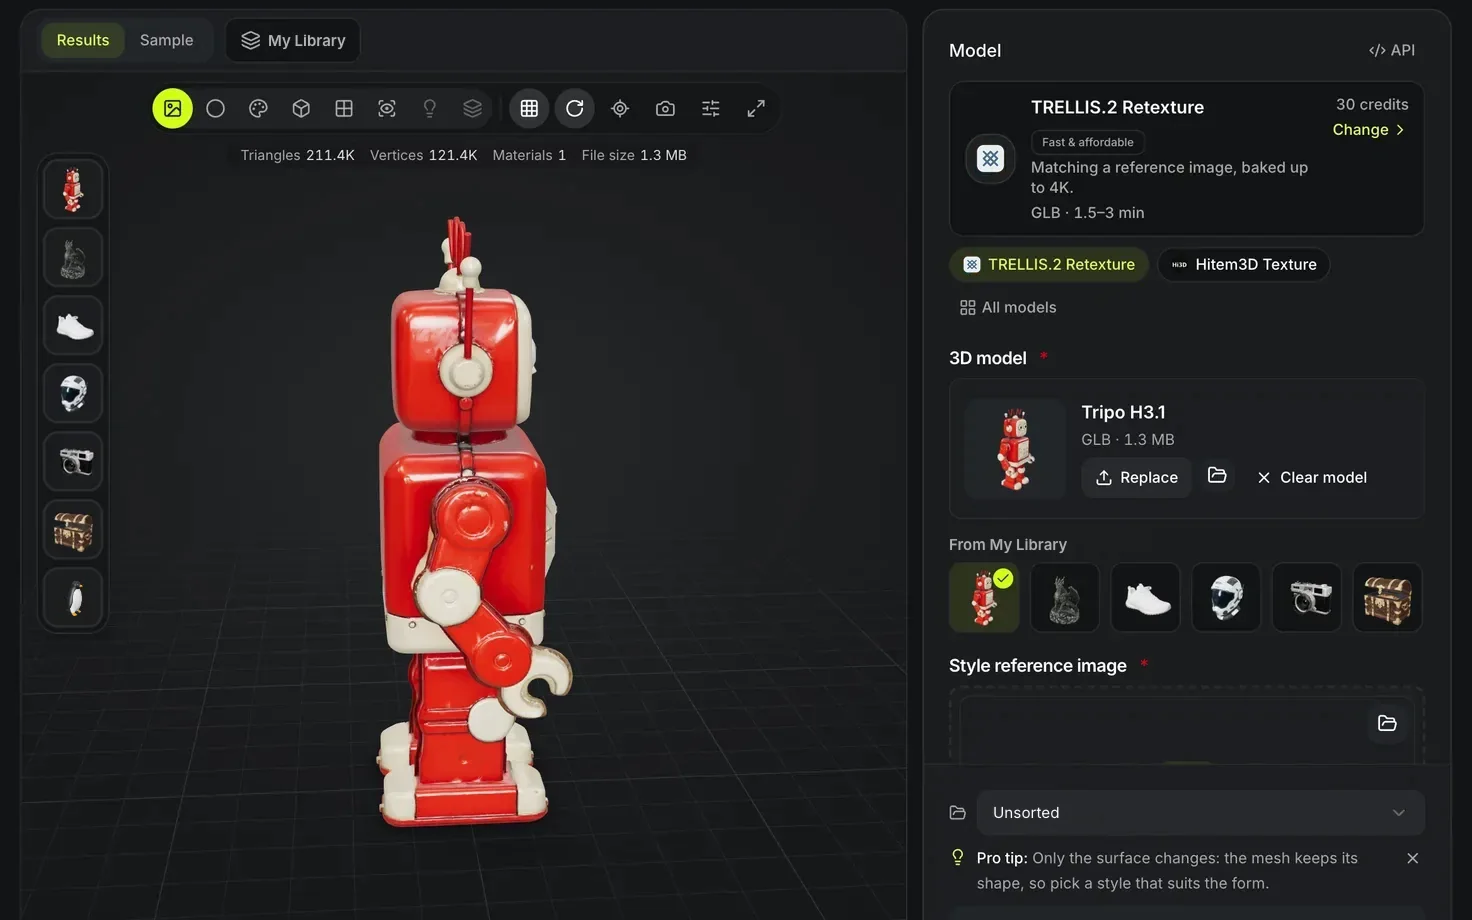
Meshy Retexture takes a reference picture, up to 600 characters of text or 2 to 4 views (the front and at least one more), and can keep the model's original UVs with Keep original UVs, so existing texture work lines up. TRELLIS.2 Retexture and Hitem3D Texture repaint from a reference picture only, and Tripo Texture from a description, a picture or four views.
Check the result
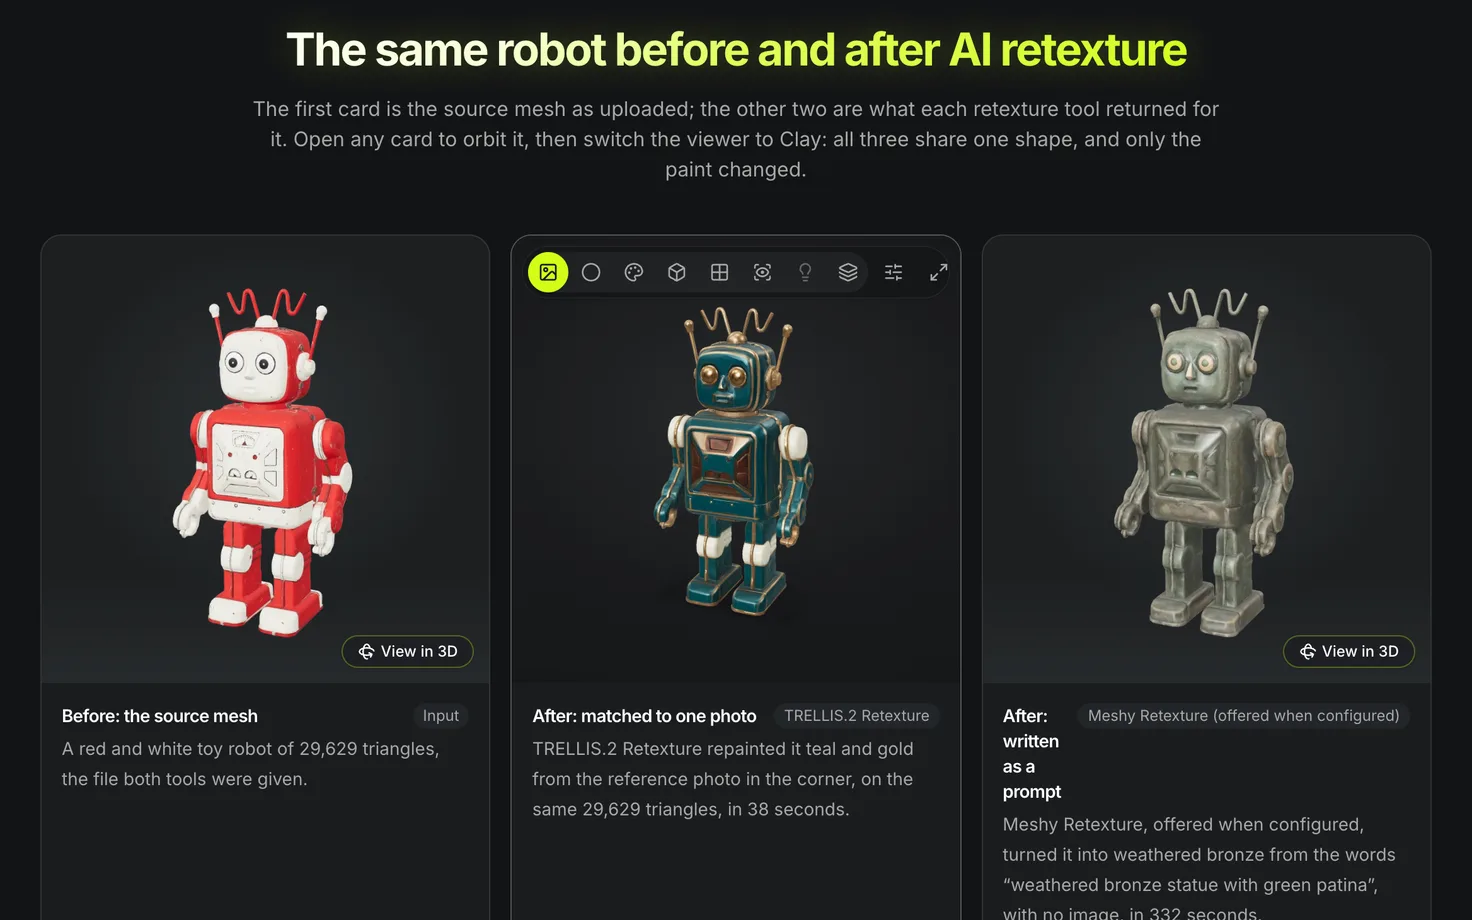
- Show original swaps the viewer to the mesh you started from, and Show result swaps back.
- Switch the viewer to Clay to confirm the shape did not change. Only the surface is new.
- After a retexture, the bar leads with Paint it by hand, which opens 3D Texture Painter on the result so you can paint out a small flaw by hand, free in your browser.
- Holes or lumps in the mesh stay after a retexture. If the shape is wrong, remesh or regenerate instead.
Step 3: Remesh the model
3D Remesh rebuilds the polygons in your browser for free. For AI retopology, the remesh engines run in the AI 3D Model Editor for credits.
In your browser, free
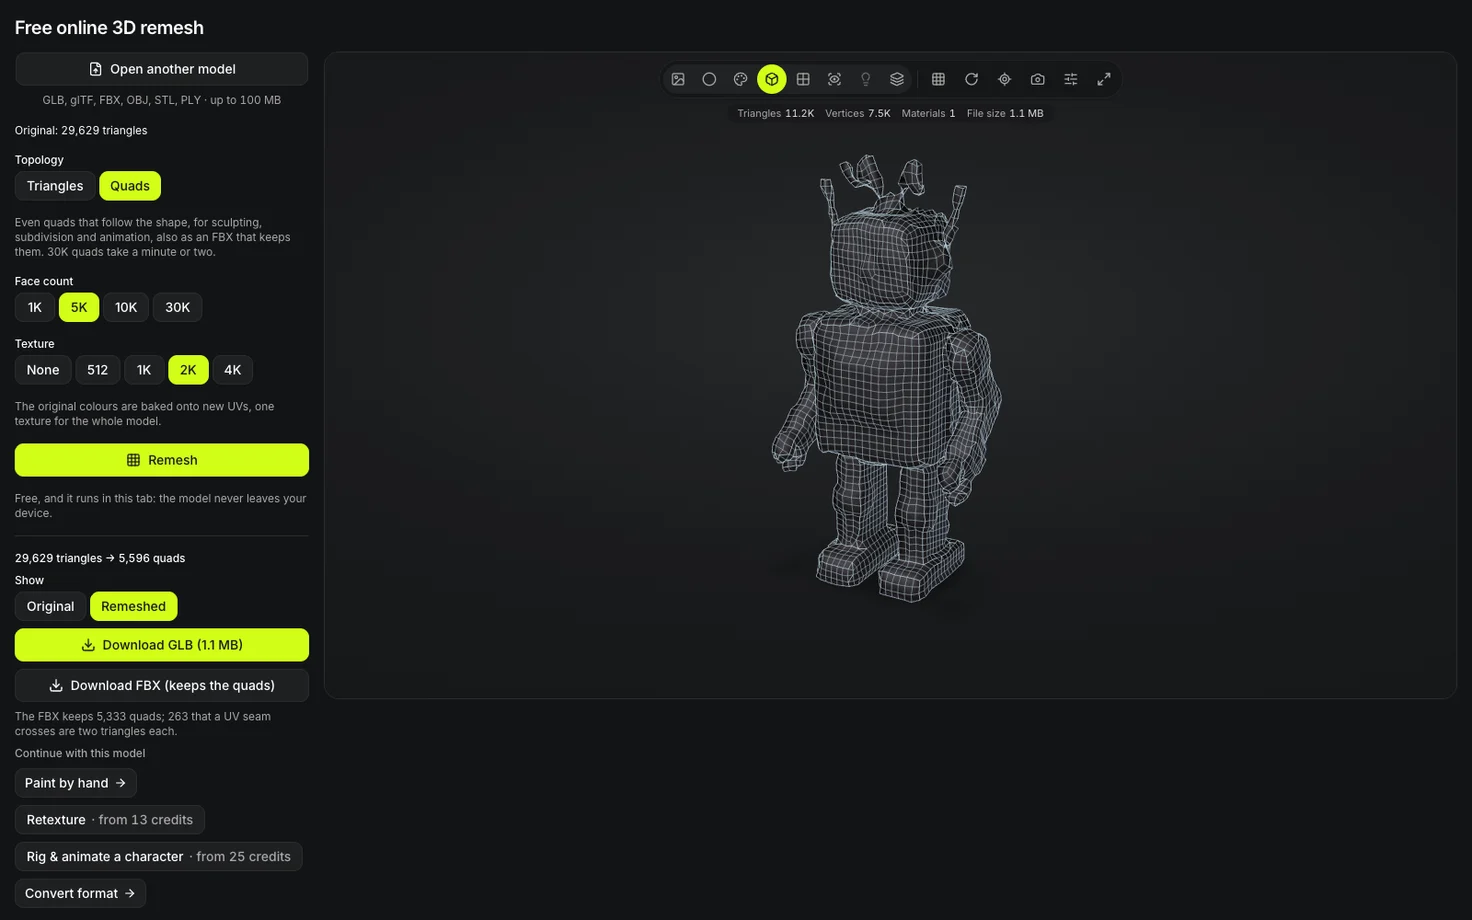
- Open 3D Remesh and open the model: a file of up to 100 MB, one of your creations, or a sample. From a result, the Remesh button opens it with the model already loaded.
- Choose the topology. Quads give cleaner edge flow for editing and subdividing in Blender or Maya. Triangles are the standard for game engines, the web and 3D printing.
- Pick a face count (1K, 5K, 10K or 30K quads; 1K, 5K, 10K, 30K or 100K triangles) and a texture (None, 512, 1K, 2K or 4K), then press Remesh. The model is rebuilt as one closed surface, laid out at the count, unwrapped, and its colors are baked onto the new UVs; 5K quads take about 10 seconds, 30K a minute or two.
- The result opens in Wireframe with quads drawn as quads. Download the GLB and, for quads, the FBX beside it that keeps them; save it to your Library, or take it straight to the next tool. A part thinner than the rebuild's grid comes back thicker, merged or cut off, and a larger face count keeps more of it.
With AI, in the editor
- Open the AI 3D Model Editor, load the model and pick a remesh engine from the model list.
| Engine | You set | Accepts | Returns |
|---|---|---|---|
| Tripo Remesh | Topology (Quad or Triangle) and a face count of Auto, 1K, 5K, 10K or 20K; quads stop at 10K, and Auto is the default | GLB, OBJ, FBX, STL | GLB, FBX |
| Meshy Remesh | Topology (Quad or Triangle) and a face count of 1K, 5K, 10K, 30K, 100K or 300K; 30K is the default | GLB, OBJ, FBX, STL | GLB, FBX |
| Hunyuan3D Smart Topology | Topology (Quad or Triangle) and a polygon density of Low, Medium or High; Medium is the default | GLB, OBJ | GLB |
- Set the target and press Generate. The face count counts faces, while the viewer and the result bar count triangles. Each quad is two triangles, so a quad result reads at about double its target. Tripo Remesh returns triangles as a GLB and quads as an FBX.
Meshy Remesh goes furthest, up to 300K faces. Tripo Remesh also sets an exact face count, up to 20K, and Hunyuan3D Smart Topology takes a density instead and only a GLB or OBJ.
Free tools that do a related job
These run in your browser and cost no credits. All but the PBR Map Generator open with the model already loaded from the result bar.
- Polygon Reducer cuts a model to a share of its triangles and keeps its textures.
- GLB Compressor makes a smaller GLB for the web.
- UV Unwrap gives a model new seams and a packed UV layout with the texture baked on.
- 3D Texture Painter paints colors onto the surface by hand.
- PBR Map Generator derives normal, height and roughness maps from a flat texture photo, for a tileable material rather than a whole model.
A common order
- Generate the model with How to make a 3D model from a picture.
- Remesh it to the polygon budget your engine or your rig needs.
- Retexture it if the colors are wrong or you want a variant.
- Rig it with How to rig and animate a 3D character, or prepare it with Prepare a 3D model for printing.