
How to prepare an image for image to 3D
The mesh an image-to-3D model returns can only be as clean as the picture it reads. Four checks before upload fix most bad results: one subject, the whole subject in frame, a plain background and soft, even light.
Four checks to prepare an image for image to 3D
Each check you make to prepare an image for image to 3D removes one thing the model would otherwise have to guess. In each pair, avoid the picture on the left; the one on the right is the actual input behind a model generated in AI3D Studio.
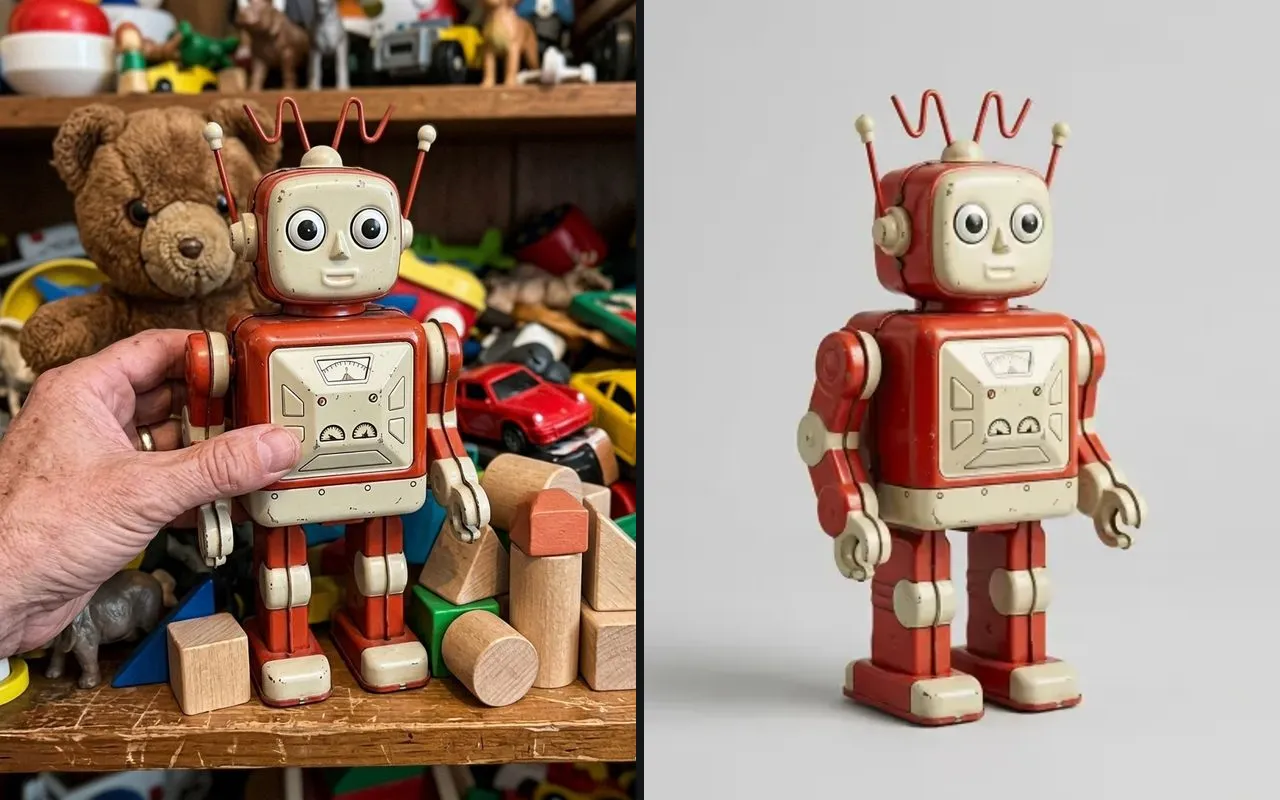
Crop to one subject
Left: a robot toy on a crowded toy shelf, held by a hand · Right: the same robot alone
Remove other objects, hands holding the subject and busy props. Anything left in the picture may be fused into the mesh.
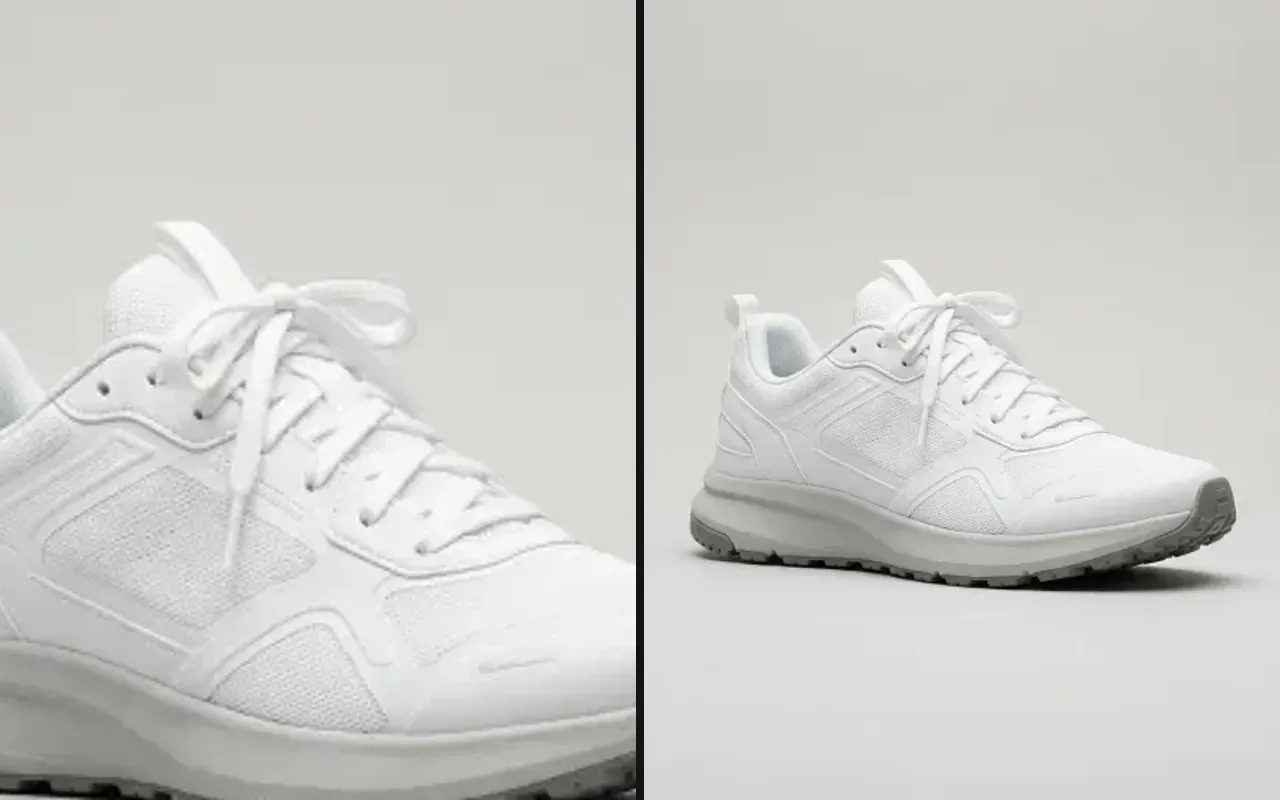
Keep the whole subject in frame
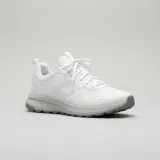
Left: framed so tight the toe and heel are cut off · Right: the whole shoe with a margin
Leave a margin on every side. A cut-off foot or handle comes back as a flat stump or an invented shape.
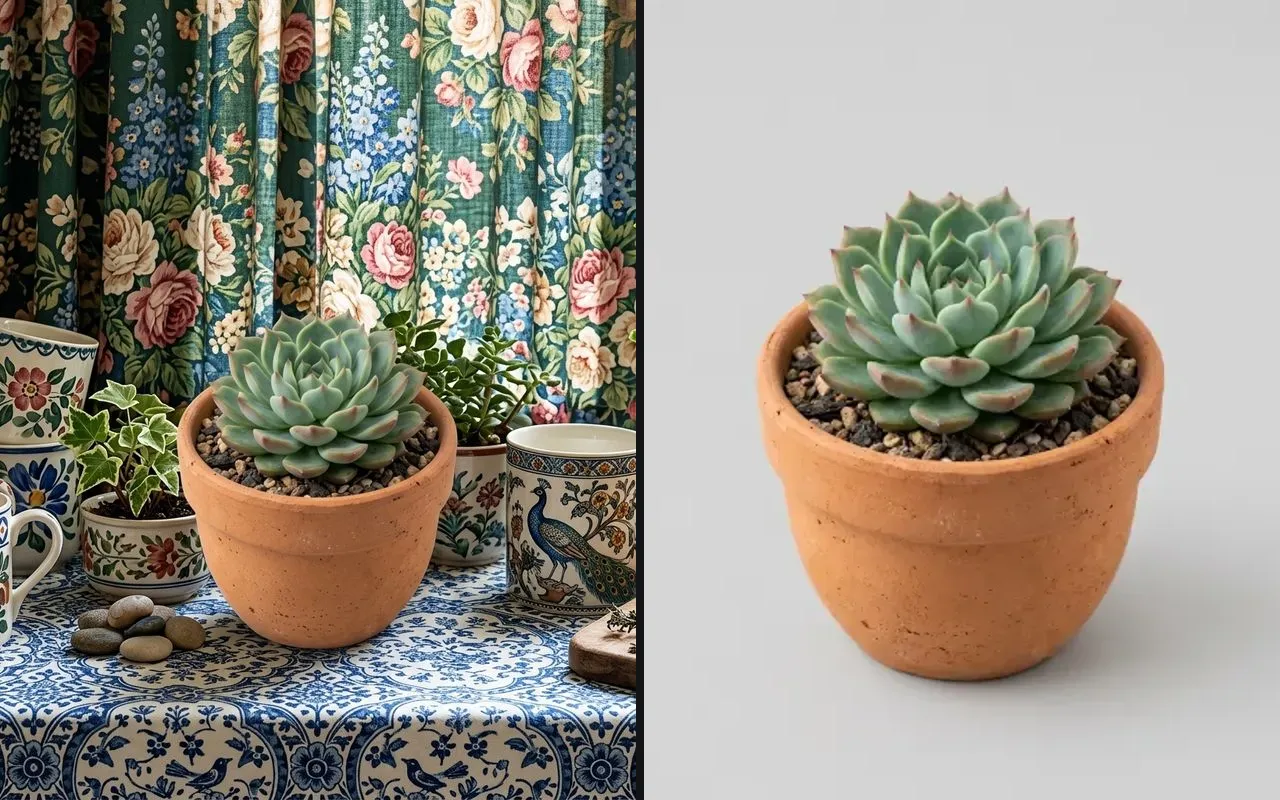
Use a plain background
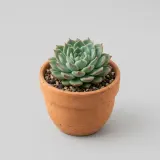
Left: a flowered curtain and mugs behind the pot · Right: one plain gray backdrop
A single color that contrasts with the subject makes the outline unambiguous, and the outline sets the silhouette of the model.
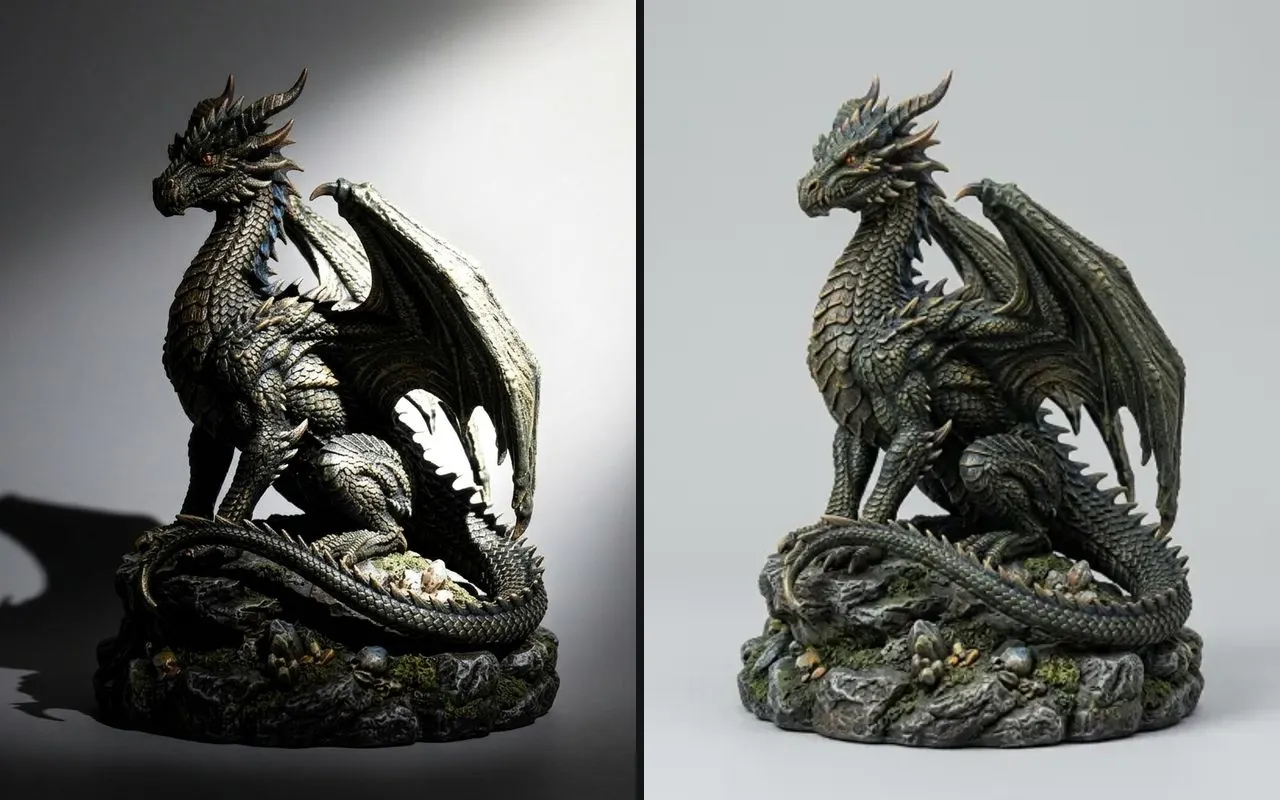
Light it softly and evenly
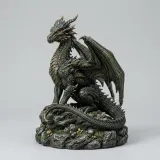
Left: one hard spotlight and deep shadows · Right: soft, even light
The texture is painted from the pixels, so hard shadows and bright highlights can end up baked into the surface color.
What six prepared images became in 3D
The four right-hand pictures from the checklist above, the three-quarter chest from the next section and one clean character render, each run once through image to 3D in AI3D Studio. The inset is the prepared input; open a card to orbit the model and judge the outline, the painted texture and the sides the camera never saw.

Tin robot
Tripo H3.1Input: the robot alone on plain gray, with the shelf and the hand cropped away. Tripo H3.1 reads JPEG or PNG up to 20 MB.
Running sneaker
Hunyuan3D 3.1 ProInput: the whole shoe with a margin on every side, so the toe and heel are in the picture. Hunyuan3D 3.1 Pro takes JPEG, PNG or WebP up to 8 MB.
Succulent in a pot
TRELLIS.2Input: the pot on one plain backdrop, with the curtain and mugs gone. TRELLIS.2 takes JPEG, PNG or WebP up to 20 MB.
Dragon statue
Hitem3D 3.0Input: the statue in soft, even light instead of one hard spotlight. Hitem3D 3.0 takes images up to 20 MB and can export STL for printing.
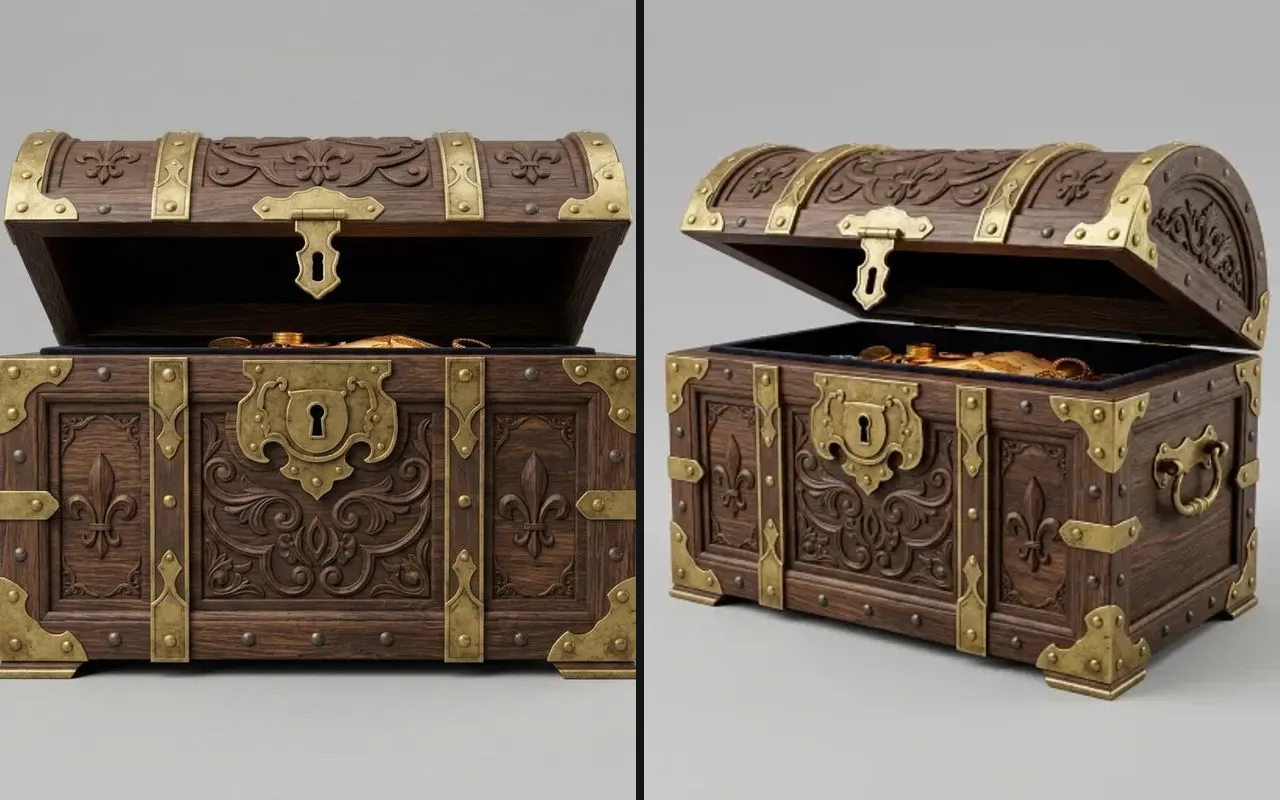
Treasure chest
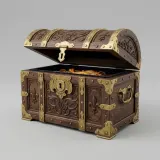
Hunyuan3D 3.1 RapidInput: a three-quarter view that shows the front, one side and the open lid, so less of the box is inferred. Hunyuan3D 3.1 Rapid takes JPEG, PNG or WebP up to 8 MB.
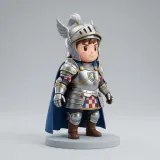
Chibi knight
Tripo H3.1Input: a clean character render with one subject, the whole figure in frame and flat studio light, which passes all four checks as it is.
What the upload field accepts
JPEG and PNG work on every model; WebP works on all except Tripo and Meshy, which refuse it.
20 MB on most models; Hunyuan3D 3.1 Pro, Rapid and Sketch take up to 8 MB.
One object or character per picture; a scene is read as one lumpy object.
When one picture hides too much, Hunyuan3D 3.1 Pro reads up to eight views of the same subject.
What the upload field accepts, model by model
Check the size cap of the model you plan to use before you export the picture. A model that reads several views takes them as separate pictures of the same subject.
| Model | File types | Largest file | Pictures per run |
|---|---|---|---|
| Tripo H3.1 | JPEG, PNG | 20 MB | One image, or up to 4 views |
| Tripo P1 and P2 | JPEG, PNG | 20 MB | One image |
| Meshy 7.1 | JPEG, PNG | 20 MB | One image, or up to 4 views |
| Hunyuan3D 3.1 Pro | JPEG, PNG, WebP | 8 MB | One image, or up to 8 views |
| Hunyuan3D 3.1 Rapid | JPEG, PNG, WebP | 8 MB | One image |
| Hunyuan3D Sketch | JPEG, PNG, WebP | 8 MB | One drawing plus a description |
| TRELLIS.2 | JPEG, PNG, WebP | 20 MB | One image |
| Rodin Gen-2.5 | JPEG, PNG, WebP | 20 MB | One image, or up to 5 views |
| Hitem3D 3.0 | JPEG, PNG, WebP | 20 MB | One image, or up to 4 views |
| Seed3D 2.0 | JPEG, PNG, WebP | 20 MB | One image |
Why the checks matter
Why prepare an image for image to 3D: what the model reads
Knowing which part of the picture drives which part of the model tells you what to fix first.
The outline becomes the shape
The silhouette against the background decides the overall form, so a clean outline is the first thing to get right.
The pixels become the texture
Color and lighting in the photo are projected onto the surface. Rodin Gen-2.5 has a remove-lighting option for photos with strong light.
The camera angle sets the pose
A three-quarter view shows more depth than a flat front view. Tripo H3.1 can align the model to the image's orientation.
Hidden sides are inferred
Anything the camera cannot see is filled in by the model; no amount of preparation changes that for a single picture.
When a single photo is not the right input
Three other inputs avoid the problems one photo cannot solve.
Several views of the same object
Front, back and side pictures replace guesswork about the hidden sides.
A generated reference image
No usable photo? Generate one subject on a plain background first, then send it to image to 3D.
A line drawing
A sketch plus a short description goes to Hunyuan3D Sketch instead of a photo model.
What a good input image cannot fix
Taking time to prepare an image for image to 3D removes avoidable errors; it does not turn a single picture into a measurement.
No real size
A photo carries no scale. Tripo H3.1's real-world scale switch estimates size in metres on textured models; otherwise set the size in your 3D tool.
Results still vary
The same prepared image can give different geometry on a second run; a fixed seed repeats a result on models that expose one.
Reflections become paint
Glass, chrome and mirrors show their surroundings instead of their own color, and those reflections are painted onto the surface like any other pixels.
Fine strands merge
Hair, fur, cables and thin handles tend to fuse or break however clean the picture is.
Questions about input images for 3D
Short answers about files, backgrounds and generated pictures.
Turn the prepared image into a model
Upload it on the image to 3D page and compare the credit cost of each model before you submit.